Why Video Watermark Removal Looks Blurry: A Scene-by-Scene Diagnosis
A removed watermark can leave a soft rectangle, a bright rim, a repeated texture, or a patch that looks acceptable in a paused frame but flickers during playback. These symptoms do not all have the same cause. One may come from a simple blur or edge blend; another may come from a reconstruction that cannot stay consistent as the scene moves.
The useful question is not “Which remover is perfect?” It is “What evidence in this shot explains the artifact, and what is the least destructive next step?” This guide gives you a scene-by-scene diagnosis before you spend more time processing the whole video.

First identify what kind of repair you are seeing
“Watermark removal” describes an outcome, not one universal method. A workflow may obscure the mark, copy nearby detail, synthesize new pixels, or combine several operations. The output gives clues, but it does not always reveal the exact algorithm.
| Visible result | A likely repair pattern | What the symptom does not prove |
|---|---|---|
| Uniform soft box | Blur, edge blending, or a low-detail fill | That the hidden background was recovered |
| Sharp repeated patch | Cloned or repeated nearby texture | That the source scene actually contained that pattern |
| Plausible new detail | Spatial or temporal reconstruction | That the new detail matches the original covered pixels |
| Stable still, unstable playback | Frames were repaired differently or motion was not modeled consistently | That every individual frame is low quality |
| Thin light or dark rim | The mask edge, feathering, or color mismatch is visible | That the mask should always be made smaller |
Adobe's Content-Aware Fill documentation provides one concrete example of reconstruction: its Object and Surface methods take pixels from the current and surrounding frames and estimate motion, while Edge Blend samples pixels around the hole. Other tools may use different techniques, so diagnose the result you have rather than assuming a method from the product label.
Also confirm that the target is actually a watermark. A fixed title, timestamp, or other graphic may need a different editorial decision. If the target is an authorized non-watermark overlay, use a workflow intended to remove fixed text overlays and keep the same quality checks below.
Why the hidden background cannot be recovered exactly
An opaque watermark replaces the pixels beneath it. The final file does not contain a separate clean layer waiting to be uncovered. A reconstruction system can borrow information from nearby space, other frames, repeated scene structure, or learned visual patterns, but the result is an estimate of what could fit.
A semi-transparent watermark preserves more background evidence, but it still does not make exact recovery automatic. A simplified composite pixel can be written as:
observed pixel = opacity × watermark color + (1 − opacity) × background pixel
If the original watermark color, opacity, blend behavior, and clean background are not all known, several different backgrounds can explain the observed pixel. Compression, rescaling, sharpening, color conversion, and clipping can remove more information after the layers are combined.
The distinction matters because transparent marks can still provide useful residual background clues. The 2025 AAAI paper Bridging Knowledge Gap Between Image Inpainting and Large-Area Visible Watermark Removal treats watermark cleaning and background restoration as separate objectives and uses residual background information beneath transparent watermarks. The same paper reports that large marks and intricate visual regions remain difficult. Better evidence can improve a reconstruction without turning it into a guaranteed copy of the unseen original.
Upscaling and sharpening happen after this information loss. They may make edges look crisper or increase output dimensions, but they cannot verify which hidden face detail, letter, strand of hair, or surface texture was originally there.
Six scene factors that make artifacts more visible
1. Watermark area and opacity
A small translucent corner mark leaves more surrounding and residual evidence than a large opaque banner across the subject. As the covered area grows, the repair must invent or transport more content. High opacity also removes more clues from the delivered frame.
2. Mask coverage and edge placement
A mask that misses a glow, shadow, outline, or semi-transparent edge can leave a ghost. A mask that reaches far beyond the mark asks the repair to replace unrelated pixels. The best mask is not simply the smallest possible box; it is the smallest region that fully contains the visible mark and its edge effects throughout the segment.
Feathering can hide a hard seam, but too much feathering can blend remaining watermark pixels back into the repair. Check the boundary over both light and dark backgrounds.
3. Fine detail and recognizable structure
Flat walls and out-of-focus sky provide fewer constraints than faces, fingers, hair, fabric weave, foliage, small text, or architectural lines. A slightly wrong patch on an unimportant surface may pass unnoticed. The same spatial error across an eye, a letter, or a railing is immediately legible.
4. Motion, occlusion, and motion blur
Moving subjects change what lies behind the mark from frame to frame. A hand may enter the region, a face may turn, or the camera may reveal new background. Motion blur adds another time-dependent shape. If the repair borrows from a poorly aligned frame, detail can smear or appear to swim.
5. Changing light and complex textures
Reflections, water, smoke, grass, flashing lights, shadows, and auto-exposure changes do not repeat cleanly. Adobe specifically notes that water and areas with varied light and texture can need manual refinement or reference frames. A texture may look plausible in isolation yet move differently from the surrounding scene.
6. Cuts, compression, and limited source quality
A shot change breaks continuity: pixels from the previous shot are not valid evidence for the next one. Heavy compression can also turn fine detail into blocks or ringing before removal begins. Re-encoding an already compressed result adds another generation of loss. Diagnose each shot separately and use the highest-quality authorized source available.
Why a clean still can fail during playback
An image-quality check asks whether one frame looks convincing. A video-quality check also asks whether the repair follows motion, lighting, grain, and scene changes over time.
That second requirement is temporal consistency. The 2025 IEEE paper Decouple and Couple: Exploiting Prior Knowledge for Visible Video Watermark Removal explains why image-oriented methods are not enough for video: each frame needs restoration while the sequence remains consistent across time. A sequence of individually plausible frames can still alternate between different textures, colors, or shapes.
Common motion-only failures include:
- Flicker: brightness, color, or detail changes inside the repaired region.
- Swimming texture: reconstructed detail drifts differently from the surface around it.
- Trailing smear: content from an earlier position appears to follow a moving subject.
- Cut contamination: a patch briefly resembles the preceding or following shot.
Always watch the result at normal speed with the repair region in peripheral vision. Then loop the difficult segment and inspect it frame by frame. Slow inspection locates the failure; normal playback tells you whether viewers will notice it.
A representative-segment quality checklist
Do not process a long file and inspect only its first clean-looking frame. Before committing to the full workflow, select short segments that represent the hardest conditions in the video.
Include at least:
- the mark over the most detailed or important subject;
- the fastest subject or camera movement;
- the brightest and darkest backgrounds behind the mark;
- a fade, opacity change, or graphic transition if the mark has one;
- one frame before and after every nearby cut.
For each segment, compare the same crop before and after repair and record the symptom rather than writing only “bad quality.”
| Check | Pass signal | If it fails, test next |
|---|---|---|
| Mark coverage | No letters, outline, glow, or shadow remain | Expand or reposition the mask only where evidence remains |
| Boundary | No stable box, rim, or color seam | Revisit edge coverage, feathering, and fill method |
| Local structure | Lines, faces, hair, and texture remain coherent | Use a cleaner source, reference frame, manual patch, or alternate edit |
| Motion | Patch follows the scene without swimming or trails | Split at motion changes; use motion-aware tracking or restoration |
| Lighting | Brightness, color, noise, and grain match around the patch | Split lighting states or supply separate references |
| Cuts | No detail crosses from one shot into another | Process shots independently and add cut boundaries |
| Final encode | Artifact does not worsen after export | Compare the pre-export render and reduce avoidable recompression |
A larger test sample is not automatically better. A 10-second segment containing the hardest motion and one cut can reveal more than a minute of static background.
Choose the least destructive fallback
Use the strongest source evidence first. The following order preserves more real image information as you move down the list:
- Re-export from the source project. Disable the watermark layer or obtain the clean licensed master. This is the only route that can preserve the actual background without reconstruction.
- Remove or replace a separate overlay. If the mark remains an editable layer in the project or delivery system, change that layer instead of touching the picture.
- Reframe or crop. If composition and delivery requirements allow it, exclude a corner mark without rebuilding covered detail. Check that the crop does not harm resolution or subject framing.
- Cover with an intentional graphic. A new authorized lower third, matte, or layout may look more honest and stable than a failed invisible repair.
- Use shot-specific restoration. Split at cuts, track the mask where necessary, and create reference frames or manual patches for difficult moments.
- Drop or replace the shot. When the mark covers a face, critical text, or unique action and no clean source exists, substitution may be less damaging than a visibly invented region.
If visual reconstruction is appropriate for footage you own or have permission to edit, preview a watermark repair on your own clip. Test a representative segment first and judge the complete motion, not just the thumbnail.
Common questions
Is the tool blurring the watermark or rebuilding the area?
It depends on the workflow. A flat soft box suggests blur or low-detail fill, while structured new detail suggests cloning or reconstruction. These are clues, not proof of a particular algorithm. Product documentation and a controlled before/after test are stronger evidence.
Is a smaller mask always better?
No. A smaller mask preserves more untouched pixels only if it still covers the entire mark, including outlines, shadows, glow, and opacity changes. An undersized mask leaves ghosts; an oversized mask increases the amount of unrelated scene content that must be rebuilt.
Can a semi-transparent watermark be removed exactly?
Not reliably from the final composite alone. Transparency may leave useful background evidence, but the original layers, blend settings, and pre-compression values are usually unknown. The repair can be convincing without being an exact recovery.
Why does the patch flicker only after export?
First compare the rendered repair before the final encode. If the pre-export version is stable, bitrate, chroma subsampling, resizing, or another compression pass may be making a subtle boundary more visible. If the pre-export repair already changes frame to frame, the problem is temporal consistency rather than export alone.
Can upscaling or sharpening restore the lost detail?
They can change apparent sharpness or resolution, but they cannot prove or retrieve the exact pixels that an opaque mark replaced. Excess sharpening can also emphasize halos, seams, compression ringing, and frame-to-frame differences.
Which backgrounds are hardest to repair?
There is no universal ranking, but faces, hair, hands, small text, repeating lines, reflections, water, foliage, smoke, fast motion, changing light, and cuts all provide strong visual or temporal constraints. Test the actual combination in your scene.
When should I stop repairing a shot?
Stop when the remaining artifact changes the meaning of a face, action, label, or disclosure; when it is more distracting in motion than the original mark; or when the workflow requires inventing critical content you cannot verify. Return to a clean source, crop, cover, or replace the shot.
Only edit video you own or are authorized to change. Do not remove attribution, provenance, safety marks, ownership signals, or legally required disclosures.
How this guide was checked
- The reconstruction, mask, lighting, texture, and reference-frame claims were checked against Adobe's official Content-Aware Fill documentation.
- The large-area, transparent-watermark, and background-restoration boundaries were checked against the linked 2025 AAAI paper.
- The temporal-consistency explanation was checked against the linked 2025 IEEE video-watermark-removal paper.
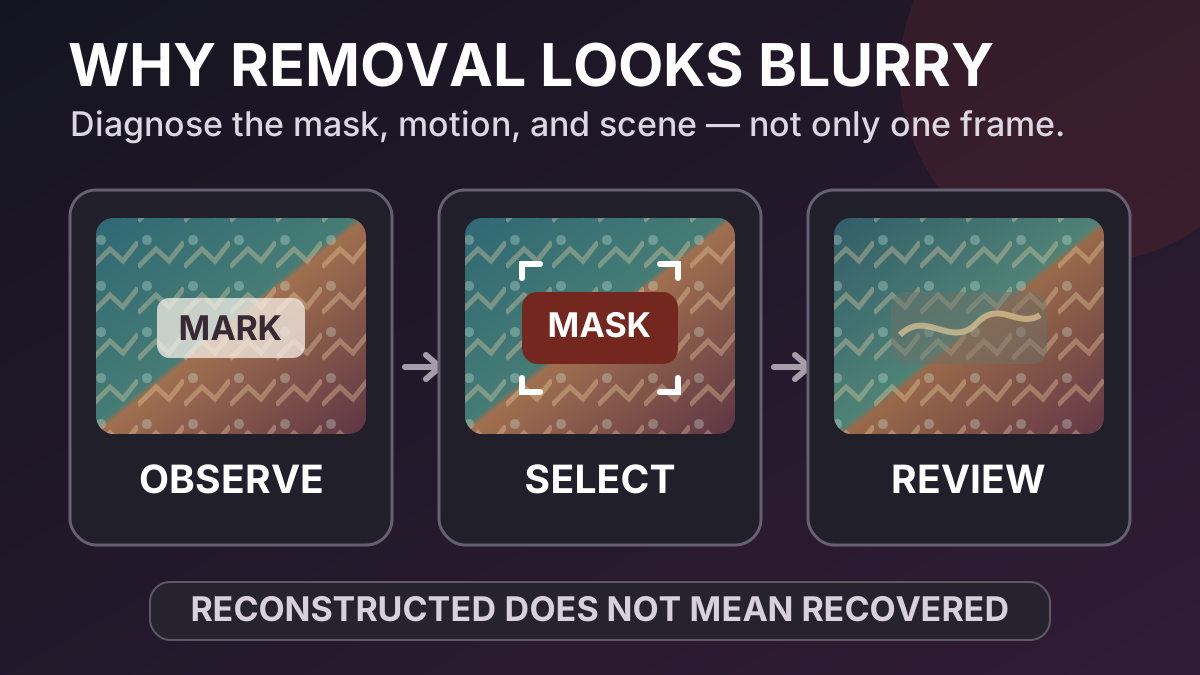
- Both diagrams are original Markswipe graphics. They are conceptual diagnostic illustrations, not simulated product results or claims of exact restoration.
- Research and the first drafting pass used AI assistance. The final draft was checked claim by claim against the cited primary sources before publication review.
Sources and further reading
Table of Contents
Author
Categories
Tags
More Posts

Fixed or Moving Watermark? Choose the Right Removal Workflow
A coordinate-based test for choosing between a fixed removal box, a tracked mask and a clean source export.
Hardcoded or Soft Subtitles? A File-First Diagnosis
A practical diagnosis for separating burned-in subtitle pixels from viewer-controlled subtitle and caption data before you edit a video.